
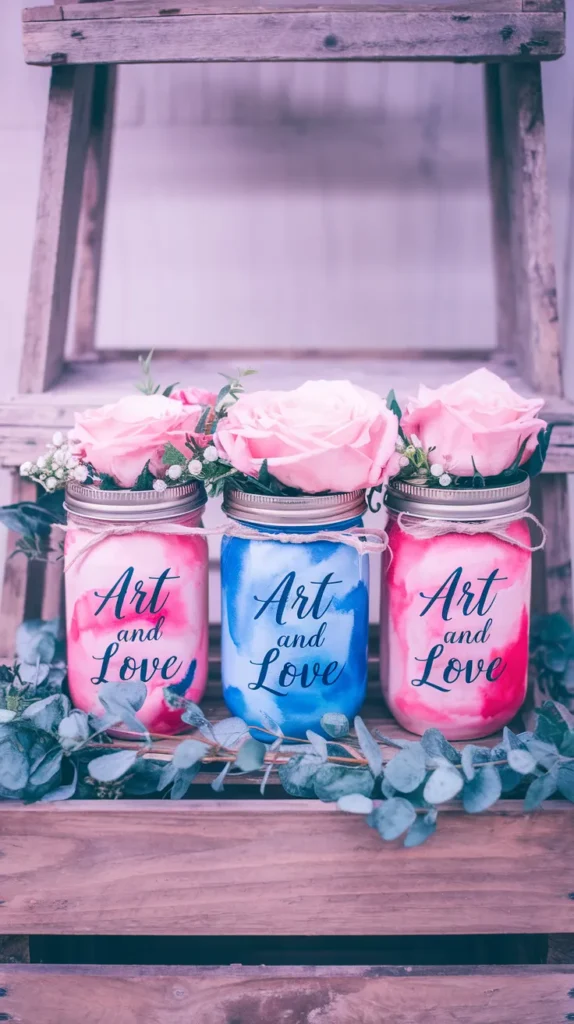
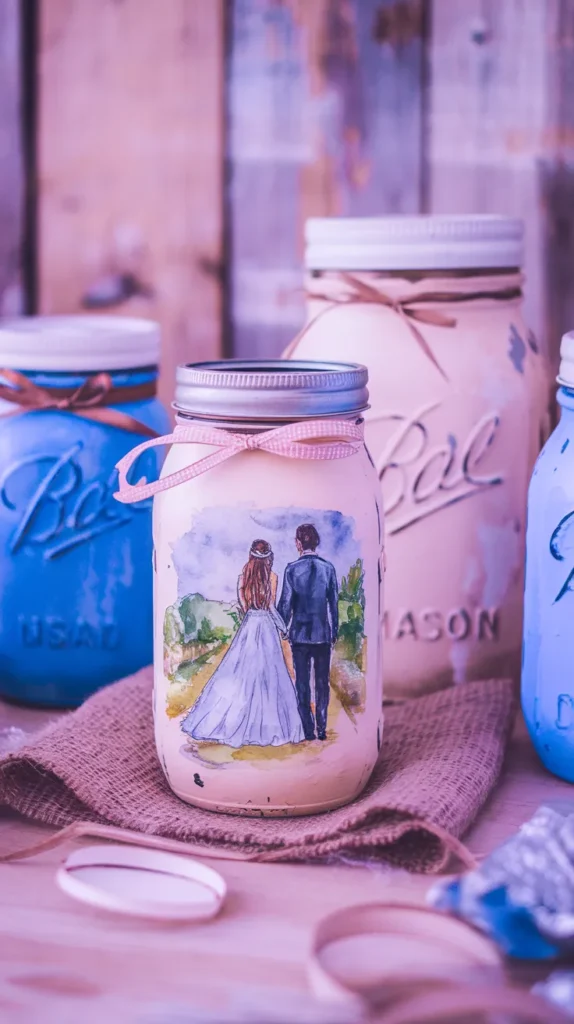
Mason jars are a favorite for DIY projects, especially in wedding decor. They add charm to any event, making them great for unique wedding touches. By painting them in watercolor designs, you can make beautiful centerpieces that show off your style.
These jars are also great for crafting, offering endless ideas. You can make everything from elegant flower arrangements to fun table decorations. Websites like Crafts with Jars show how to turn simple jars into stunning Watercolor Decor. They’re affordable and can be used throughout your wedding.
Use Mason jars for your rustic wedding ideas to create unforgettable decor. There are many painting ideas and inspirations to make your wedding decor stand out. Let’s explore how DIY watercolor Mason jars can be the highlight of your wedding!
Why Choose Mason Jars for Wedding Decor?
Mason jars are a top pick for couples wanting beautiful wedding decor on a budget. Since 1858, they’ve become a staple in weddings, from rustic to modern. Their charm comes from being affordable and fitting many themes.
Budget-Friendly Option
Mason jars are a smart choice for those watching their budget. A case costs about $10, making them perfect for any wedding size. They help create stunning decor without sacrificing quality or style.
Versatility in Decor Styles
Mason jars are incredibly versatile in decor. They suit any wedding theme, from fancy to playful. Used as vases, centerpieces, or lights, they add a unique touch to any wedding.
Perfect for Rustic and Vintage Themes
Mason jars are ideal for rustic and vintage weddings. They add warmth and charm to outdoor and backyard events. Their classic look makes them a great choice for vintage themes, enhancing the wedding’s magic.
DIY Watercolor Mason Jars for Artsy Wedding Decor
Starting your DIY Mason Jar Crafting journey is exciting, especially for your wedding decor. You can turn simple jars into beautiful pieces that show your style. Here’s a guide to get you started with materials, painting, and more.
Materials Needed for Your Project
First, make sure you have all the craft supplies you need. You’ll require glass mason jars, water-based glass paints, brushes, and sponges. Don’t forget painter’s tape, stencils, and a sealant for extra details. Mixing different jar types adds a unique touch to your decor.
Step-by-Step Guide to Painting Mason Jars
Start by cleaning the jars with soap and water, then dry them well. Use alcohol for a final clean to remove grease. Paint in thin layers, letting each dry before adding more. Use long strokes from 10 inches away to avoid drips.
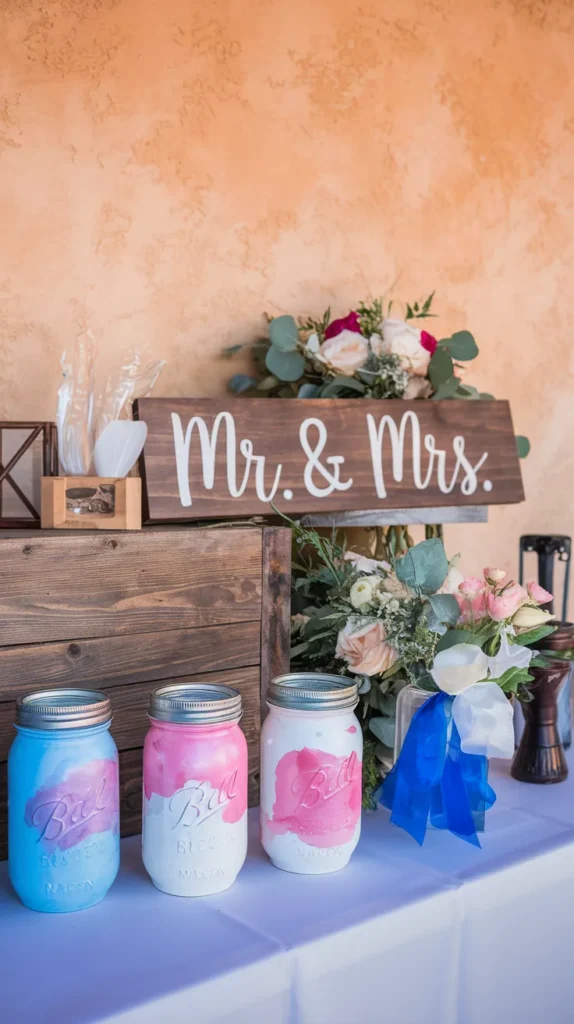
For a gradient effect, blend colors on the jar while the paint is wet. This creates a beautiful, smooth look.
Additional Techniques for Unique Effects
Try different finishes like glossy, flat, or metallic to match your theme. Flat paint works well on textured jars, while metallic adds a modern touch. Use stencils or layer colors for striking designs.
Adding simple details like dots or stripes can make each jar special. They become conversation pieces at your wedding.
Creative Ways to Use Watercolor Mason Jars in Your Wedding
Watercolor mason jars bring charm and personality to your wedding decor. They can turn simple spaces into magical places. Discover new ways to use these jars to make your wedding look amazing.
Centerpieces with a Personal Touch
Make your wedding centerpieces stand out by filling watercolor mason jars with special items. Use photos, shells, or colorful pebbles to show your love story. Place these jars on tables with soft lights for a cozy feel.
Hanging Lanterns for an Enchanted Atmosphere
Turn your watercolor mason jars into beautiful hanging lanterns. Add tea lights or fairy lights for a magical glow. Hang them from trees, arches, or ceilings to light up your venue. The colorful glass and soft light make your reception unforgettable.
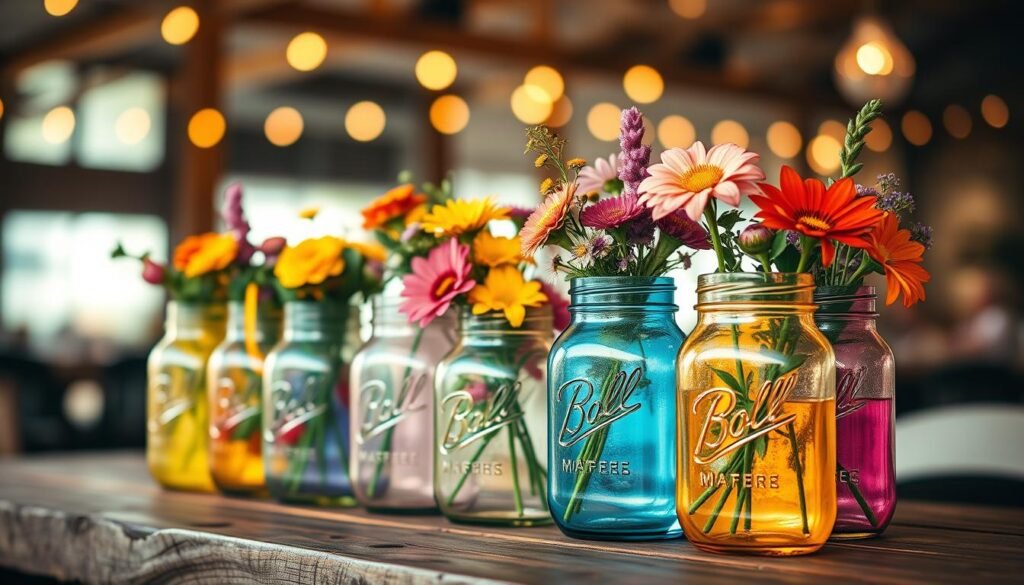
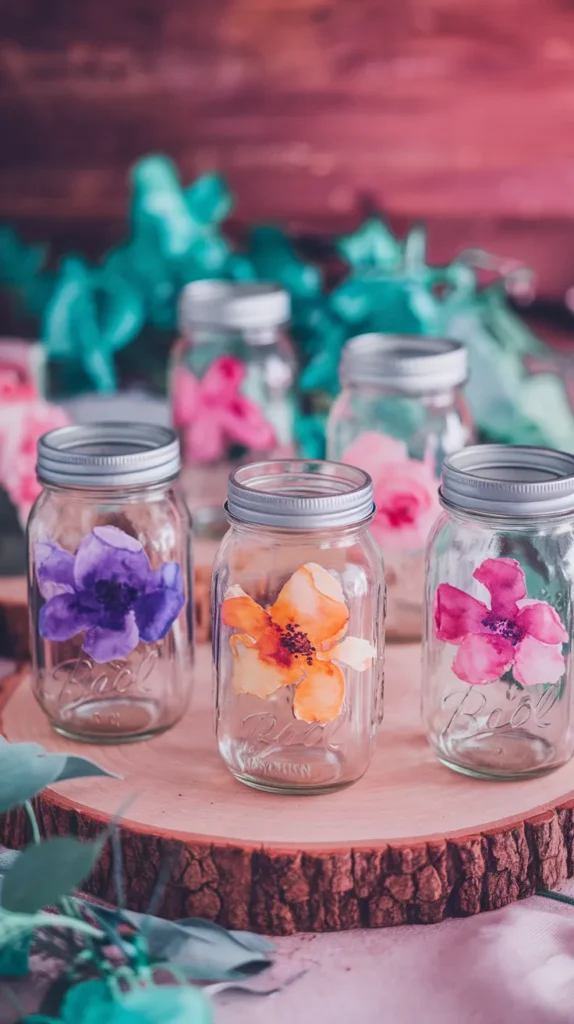
Mixing Real and Silk Flowers for a Colorful Display
Make stunning flower arrangements by mixing real and silk flowers in your jars. This mix creates a colorful display that lasts all day. Choose soft pastels or bold colors to match your wedding theme. This combination is both flexible and beautiful, captivating your guests.
Tips for Customizing Your Watercolor Display
Adding a personal touch to your wedding arrangements with Mason Jar Decor is a great idea. Choosing the right colors and patterns for your watercolor jars can really make them stand out. A thoughtful approach will make sure your jars are not just part of the decor, but the highlight of your celebration.
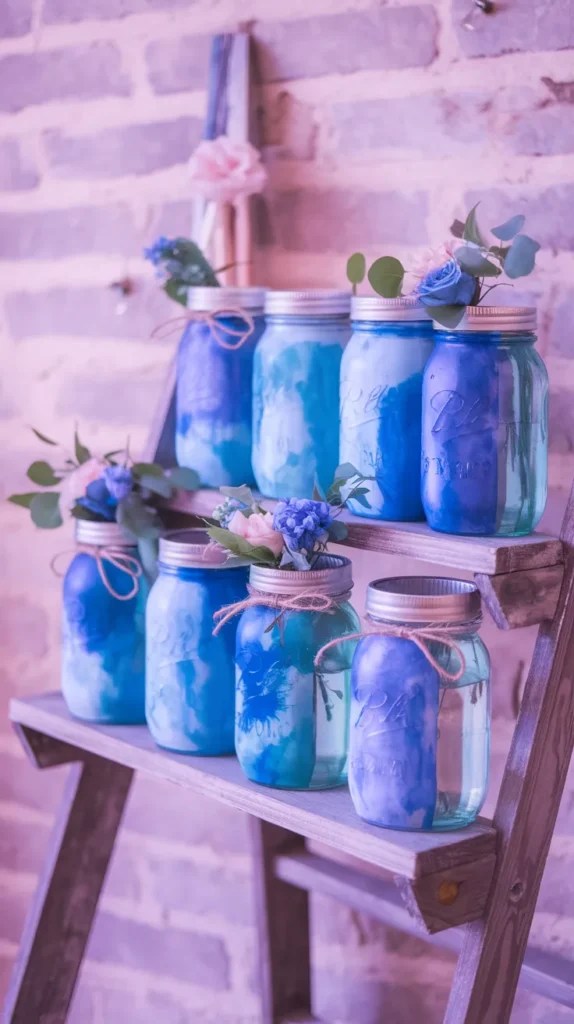
Choosing the Right Color Palette
It’s important to pick a color palette that matches your wedding theme. Think about the emotion you want to create with your decor. Soft pastels can add a romantic touch, while bold colors can energize the space.
Look into Color Palette Ideas that use two to three colors of glass stain. This creates a balanced look that’s both harmonious and striking. It keeps the decor cohesive while keeping it visually interesting.
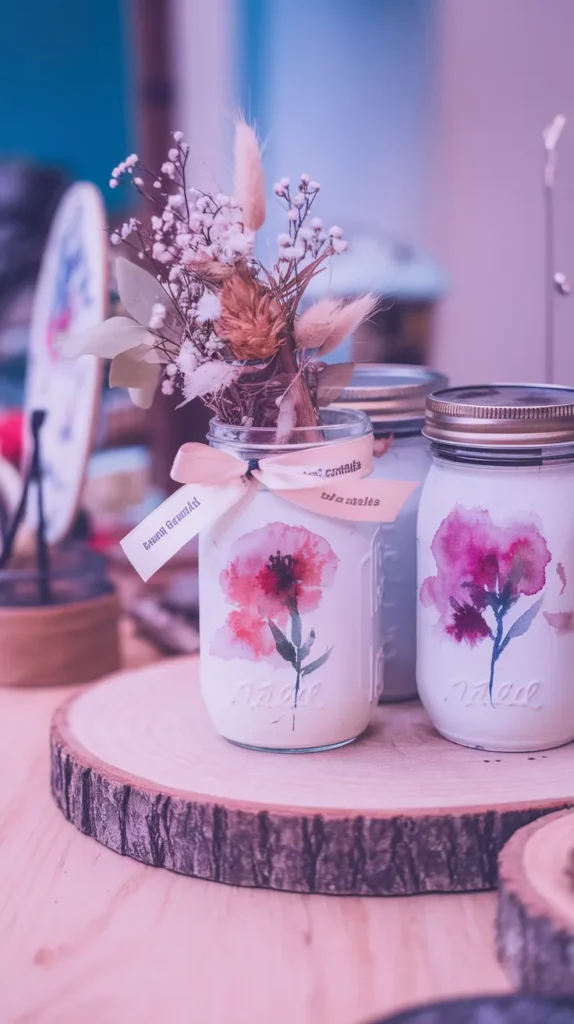
Incorporating Patterns and Designs
Pattern Designing for Decor can elevate your jars. Use unique stencils or try freehand painting for a personal touch. Mixing stripes, dots, or floral designs can greatly enhance each jar’s appearance.
Don’t be afraid to experiment with different techniques to show off your style. Each jar will not only showcase your creativity but also the story of your love.
Showcasing Your DIY Watercolor Mason Jars on Social Media
Sharing your DIY watercolor mason jars on social media is a great way to inspire others. Take high-quality photos that show off the details of your work. Use natural light to make the colors and textures pop.
Make a special hashtag for your wedding crafts. It helps group your posts and lets others share their DIY ideas. Join communities on Pinterest and Instagram to share your crafting journey. Your work can inspire others planning their weddings.
Sharing how you made your mason jars can connect with your audience. Post step-by-step photos or short videos. This way, you share the beauty of DIY decorations and build a community of creatives.