
Glitter mason jars add sparkle and elegance to your wedding decor. They work well for both rustic and modern weddings. These jars are great for DIY projects, fitting your color scheme and saving money.
With just seven basic materials, you can make stunning mason jar centerpieces. Making your own glitter mason jars is simple, even if you’re new to crafting. They’re perfect for centerpieces, flower displays, or unique drinks. Let your creativity shine with glitter mason jars for a wedding that’s truly yours.
Introduction to Glitter Mason Jars
Glitter mason jars are a hit for wedding decor. They add sparkle with paint and glitter. This makes them perfect for any wedding theme.
What Are Glitter Mason Jars?
Glitter mason jars are mason jars with a glitter makeover. They’re painted and then covered in glitter. This gives them a stunning look.
They’re great for many wedding decoration ideas. You can use them as centerpieces or candle holders. They fit well with many styles, like rustic or vintage.
Why Choose Mason Jars for Weddings?
Mason jars are a smart choice for weddings. They’re affordable, which is good for couples watching their budget. Plus, they can be used again for storage or lighting.
Their old-fashioned charm adds a special touch. It’s perfect for couples who want a meaningful wedding.
Benefits of Using Glitter in Decor
Glitter in wedding decor has many perks. It makes things sparkle and draws attention to key areas. It also lets you match the decor to your wedding colors.
This makes your wedding decor unique and beautiful. It creates a memorable experience for your guests.
How to Use Glitter Mason Jars for Stunning Wedding Decor
Creating unique wedding decor is a fun project. DIY glitter mason jar centerpieces are a great way to show off your style. They add sparkle and become special keepsakes for your guests. Explore different ideas and tips to make your custom wedding jars shine on your big day.
DIY Glitter Mason Jar Centerpiece Ideas
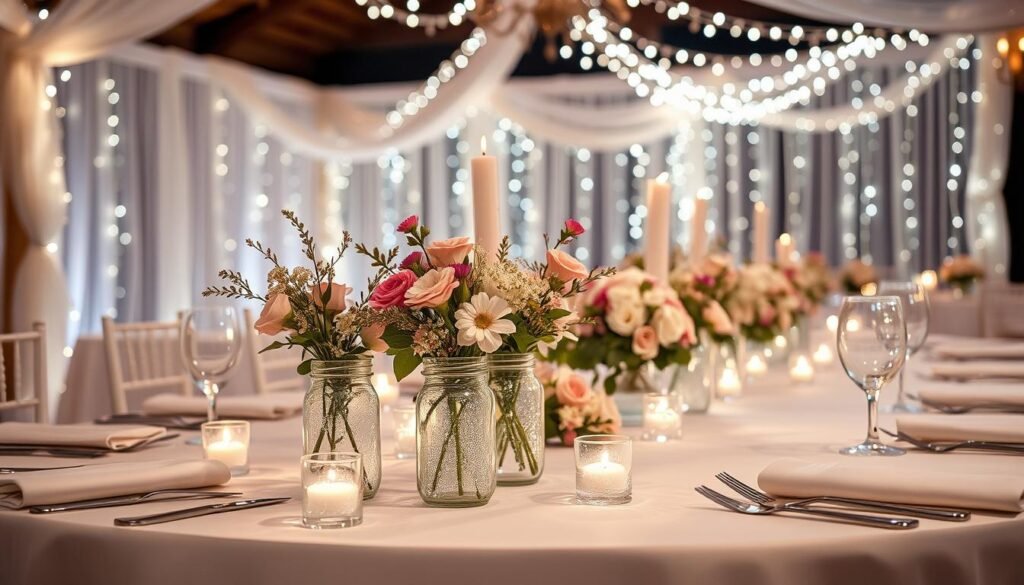
Glitter mason jars are perfect for DIY centerpieces. Mix sizes for a bold statement or a cozy feel. Try colors like pink, white, and gold for a striking look. Add florals, lights, or candles for extra flair.
Shaking polyurethane and glitter inside makes the jars sparkle. This adds to the beauty of your reception.
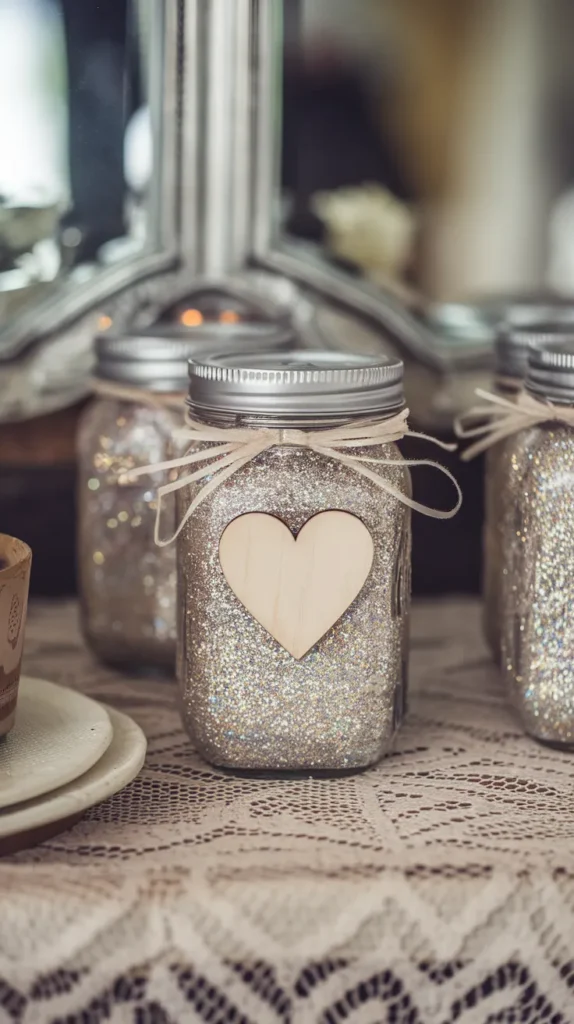
Personalizing Your Glitter Mason Jars
Personalized decor makes your wedding special. Use vinyl cutouts for names, dates, or quotes. Painter’s tape designs add a playful touch, fitting any theme.
Pair your jars with Red Hot candies or themed decor for a complete look. These touches make your centerpieces unforgettable keepsakes for your guests.
Materials Needed for Glitter Mason Jar Decor
Creating stunning glitter mason jars needs careful material selection for beautiful results. Gather essential crafting supplies before starting your DIY project. Begin with the basic components for glitter jars to make crafting easy and fun.
Essential Supplies
To make your glitter mason jars, you’ll need affordable and versatile materials. Start with 16 oz mason jars, costing about $3 each. You’ll also need multi-surface craft paint for the base coat, Mod Podge for a glossy finish, and glitter in your desired colors.
Foam brushes help with smooth application. If you plan to hang your jars, use cup hooks for a charming touch.
Choosing the Right Colors
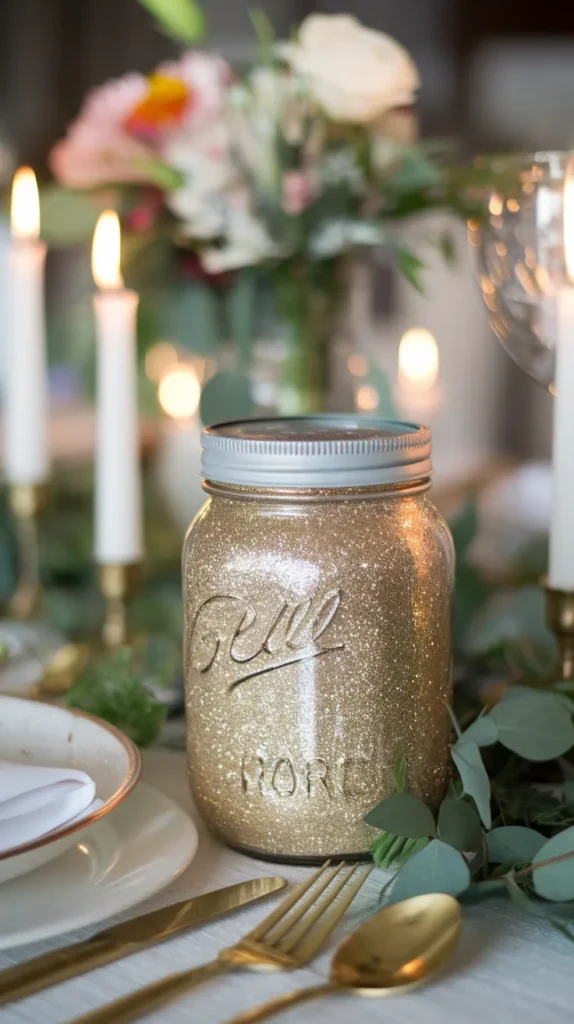
Choosing colors is key to the overall look. Think about the wedding theme and pick colors that match it. Gold and pink are popular trends, adding warmth and charm.
Remember, you can mix colors in your glitter selection. Swirl up to two colors on each jar to personalize your creations. Let your creativity shine by mixing and matching shades to make your DIY materials unique.
Step-by-Step Guide to Creating Glitter Mason Jars

Making glitter mason jars is fun and rewarding. Follow this guide to turn simple glass jars into beautiful decorations for your wedding or special event. This DIY guide will help you get professional-looking results, even if you’re new to decorating mason jars.
Preparing Your Workspace
First, set up a clean, organized workspace. Cover the area with newspaper or a drop cloth to catch spills. You’ll need half-pint glass mason jars, glitter colors like Wintermint and Bronze from Martha Stewart Crafts, and supplies like hot water, corn syrup, glycerine, and glitter glue. These steps will help keep your workspace clean and make crafting easier.
Painting and Glittering Process
Start by applying a thin layer of Mod Podge to the mason jar. This base helps the glitter stick well. Sprinkle your glitter over the jar. You can try different glitter types and amounts for unique looks.
Let the first layer dry for about 20 minutes. This ensures the glitter sticks well. If you want to make different glitter recipes, you can adjust the ingredients. For example, adding more hot water or using corn syrup and glycerine can change how the glitter settles.
As you make your glitter mason jars, try new designs with friends. This can spark creativity and innovation. Share your DIY projects and follow any rules for sharing, especially if you were inspired by The Sweetest Occasion. Enjoy the creative process and let your imagination run wild!
Creative Ways to Incorporate Glitter Mason Jars in Wedding Decor
Glitter mason jars can make your wedding decor shine. Use them for aisle decorations by lining the path with jars filled with flowers or candles. This adds beauty and sets a romantic mood as guests walk to the ceremony.
Try using mason jars as personalized escort cards. Attach guest names to jars filled with small treats. This mix of beauty and usefulness makes your guests remember the day as they find their seats.
Think beyond decorations and use mason jars in your catering too. Serving drinks in glitter jars can make outdoor summer weddings more fun. You can also put mini cakes or desserts in jars for a unique twist on wedding treats. This way, your wedding can show off your style in creative ways.